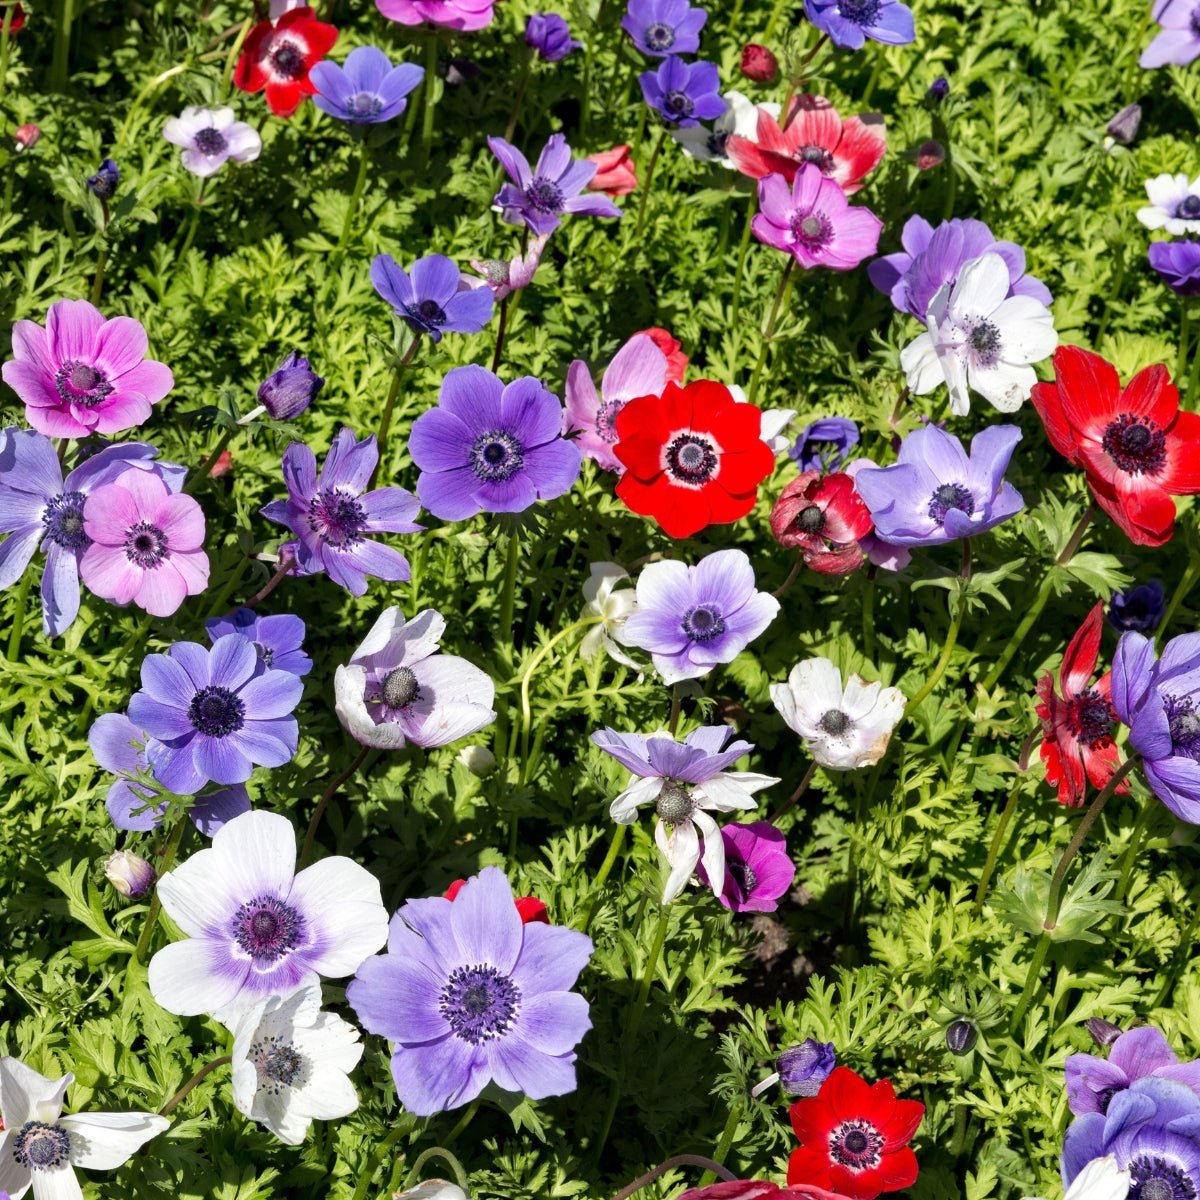
Welcome, flower enthusiasts and gardening novices alike, to the enchanting realm of the Dutch Iris! Known for their striking elegance and vibrant colours, Dutch Irises are a garden favourite that can add a touch of sophistication to any outdoor space. Whether you're drawn to their slender silhouettes or the rainbow of colours they offer, growing Dutch Irises can be surprisingly straightforward with the right know-how. So, let’s embark on a journey to demystify the care of these beautiful blooms, ensuring your garden becomes a showcase of their stunning allure.
Planting Dutch Irises: Laying the Foundation
When to Plant: The key to Dutch Iris success starts with timing. Plant the bulbs in late summer to early fall, allowing them enough time to establish roots before the winter chill sets in. This timing ensures a spectacular display come spring.
Choosing the Right Spot: Dutch Irises aren’t just pretty faces; they’re sun worshippers too. Choose a location that receives full sun to partial shade, ensuring they get at least six hours of sunlight a day. Well-drained soil is a must to prevent bulbs from rotting.
Planting Depth and Spacing: Plant your Dutch Iris bulbs about 4 inches deep and 3 inches apart. This gives them enough room to grow without overcrowding, ensuring each plant gets its moment in the sun.
Watering and Fertilization: Nourishing Your Irises
Watering Wisely: After planting, give your bulbs a good soak to help them settle in. Once they start to grow, Dutch Irises require moderate watering; keep the soil moist but not waterlogged. Overwatering can lead to bulb rot, so it's essential to strike the right balance.
Feeding for Flourish: A light application of bulb fertilizer at planting and again in early spring as they start to grow can encourage vibrant blooms. Avoid high-nitrogen fertilizers, as they can promote leaf growth at the expense of flowers.
Pruning and Maintenance: Keeping Dutch Irises Pristine
After your Dutch Irises have bloomed, resist the urge to cut back the foliage immediately. The leaves continue to photosynthesize, providing energy for the next year’s blooms. Once the leaves yellow and wither, you can trim them back to the ground.
Common Pests and Problems: Ensuring Healthy Growth
Dutch Irises are relatively low-maintenance but watch out for common garden pests like aphids. A blast of water or an application of insecticidal soap can manage these critters. Proper planting and care can prevent most diseases, but always keep an eye out for signs of trouble.
Enjoying the Blooms: The Reward of Your Efforts
The real joy of growing Dutch Irises comes when their elegant blooms grace your garden in spring. With colours ranging from deep purples and blues to yellows and whites, they make excellent cut flowers, allowing you to bring a piece of your garden’s beauty indoors.
Conclusion: The Timeless Appeal of Dutch Irises
Growing Dutch Irises offers a rewarding experience for gardeners of all skill levels. With their minimal care requirements and maximum impact, they're a perfect addition to any garden looking to add a splash of colour and elegance. By following the simple steps outlined in this guide, you can enjoy the timeless appeal of Dutch Irises in your garden for years to come.
Happy gardening, and may your Dutch Irises bloom brightly, bringing joy and colour to your outdoor sanctuary!


